

Change the Color of any Logo Using PhotoPea
Tutorial by Nick
06/27/2024
Step 1: The first step is to find the logo that you want to change the color of. For this example, let’s say that I am working on a website for a flooring company, and our client offers flooring products from a well-known brand called Mohawk Industries, Inc. I did a quick Google search and found a png version of their logo. Great! Now I am ready to open up PhotoPea.
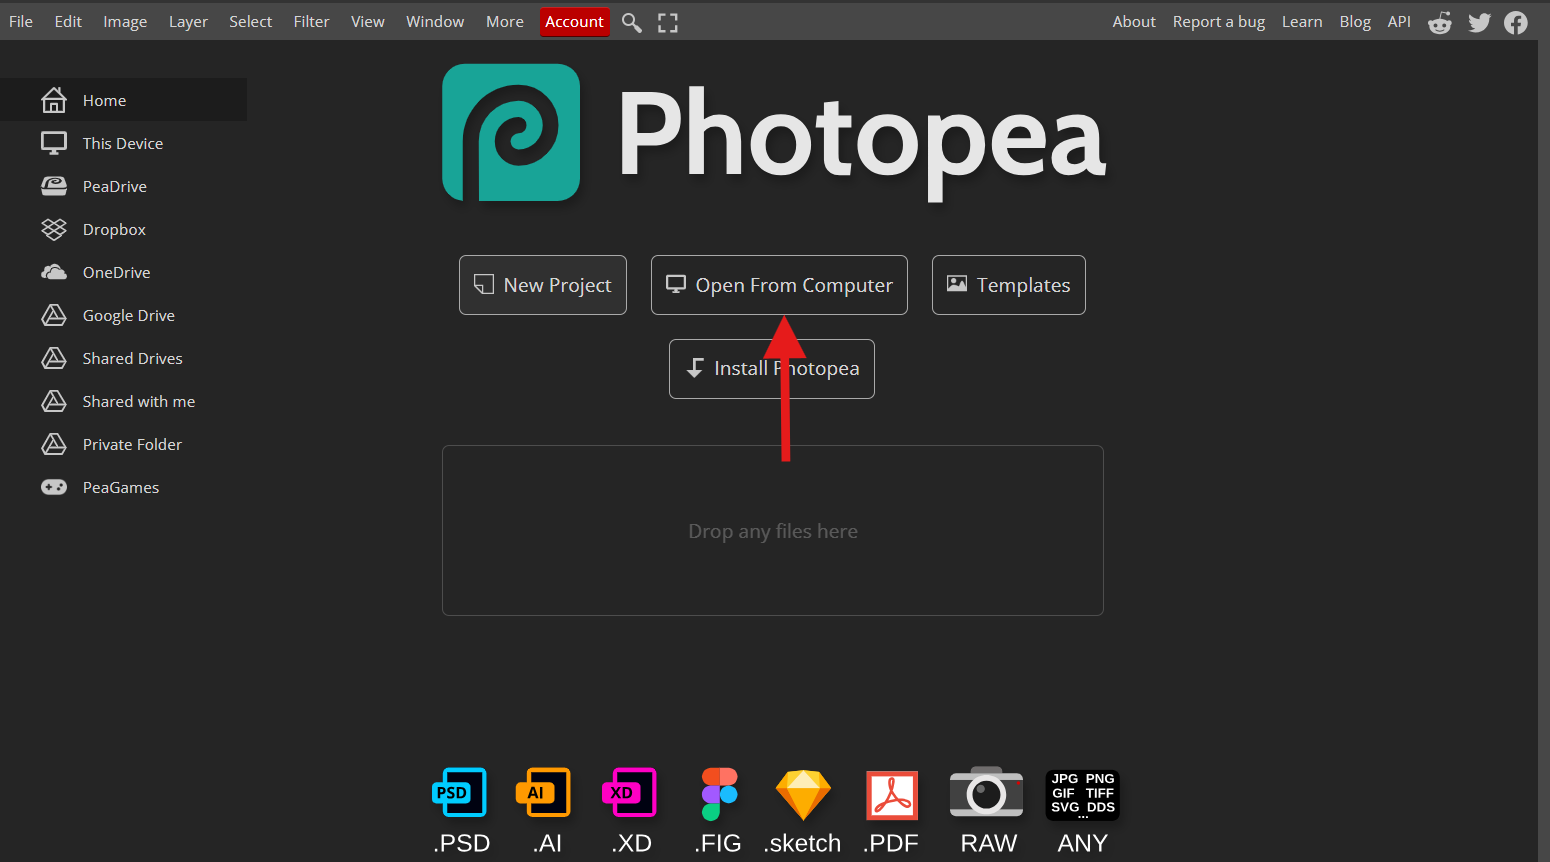
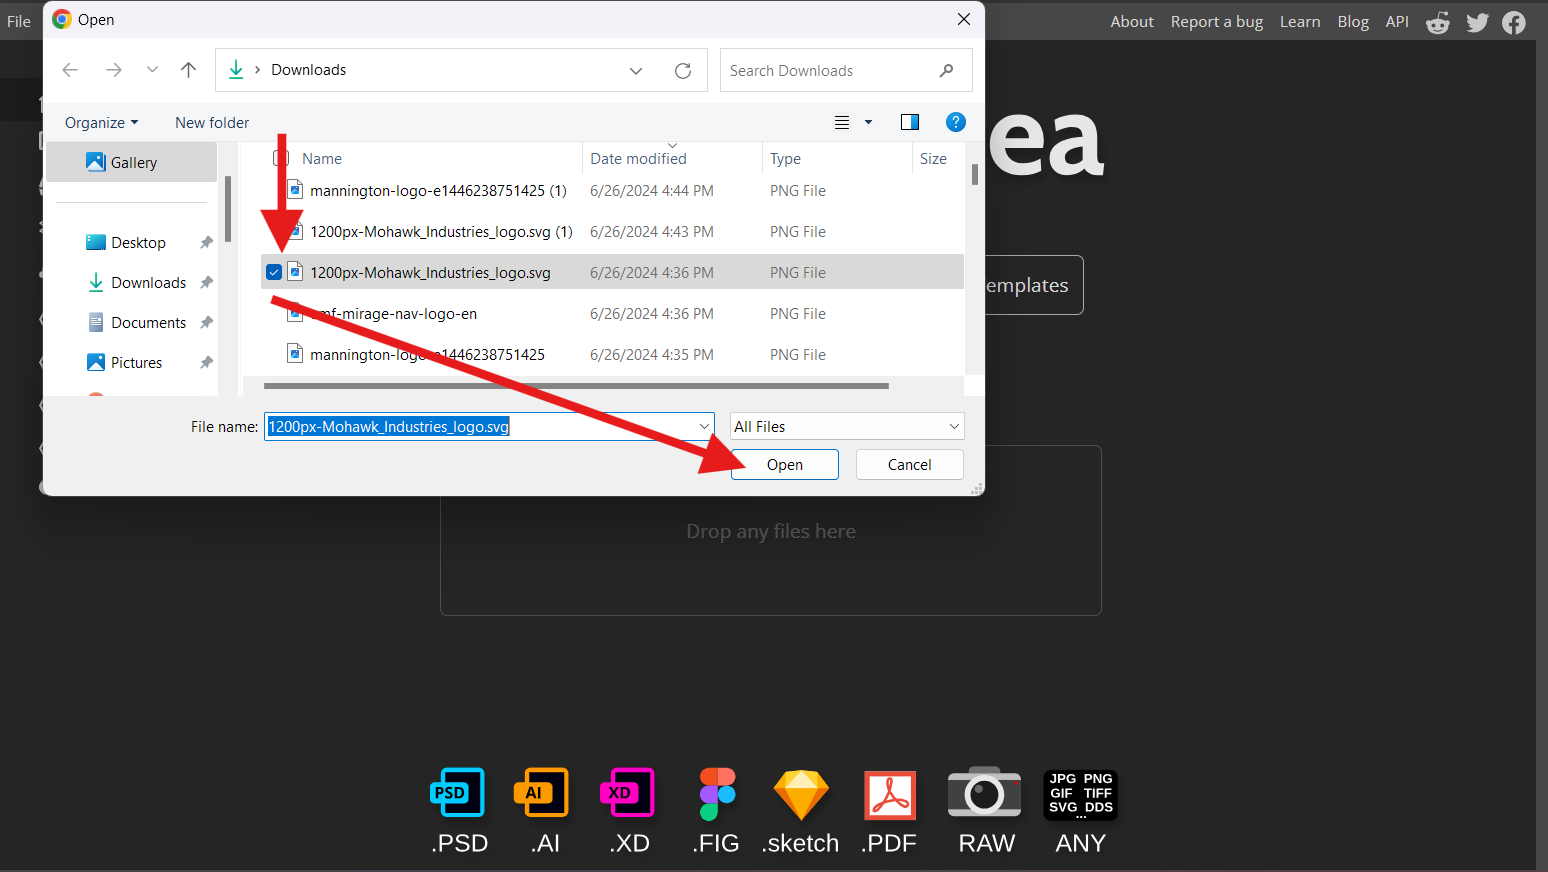
Step 2: Second, you are going to want to go to photopea.com, click on “Open from Computer,” and select the logo that you downloaded to your computer and upload it to the new working file.
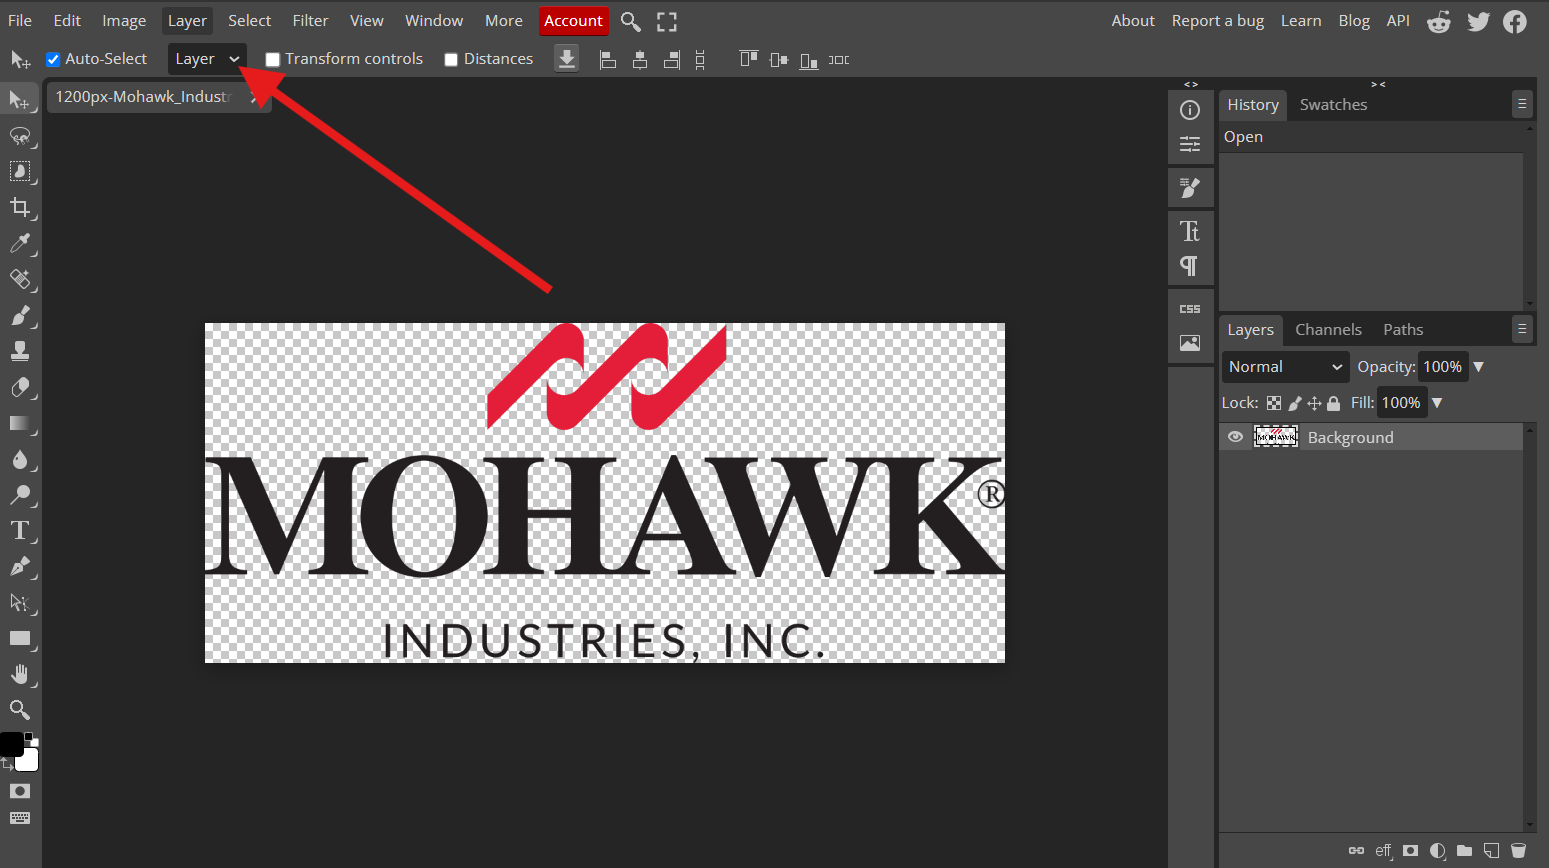
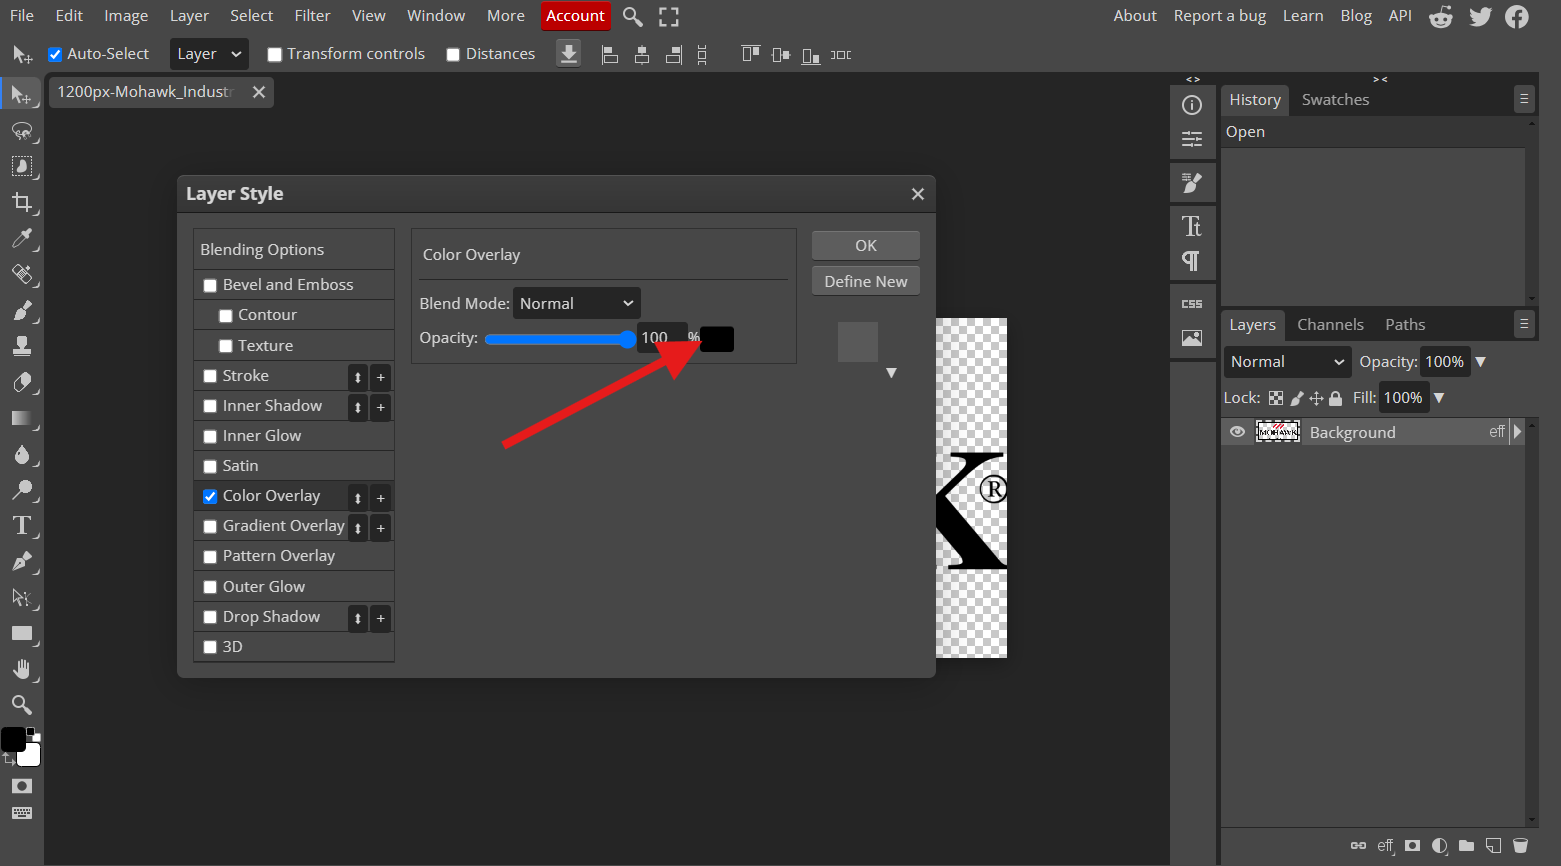
Step 3: Now it is time to alter the color! Now that we have a new working file for the logo we want to upload onto our media slider, go ahead and click on “Layer.”
From here, you will want to select “Layer Style,” then “Color Overlay.”
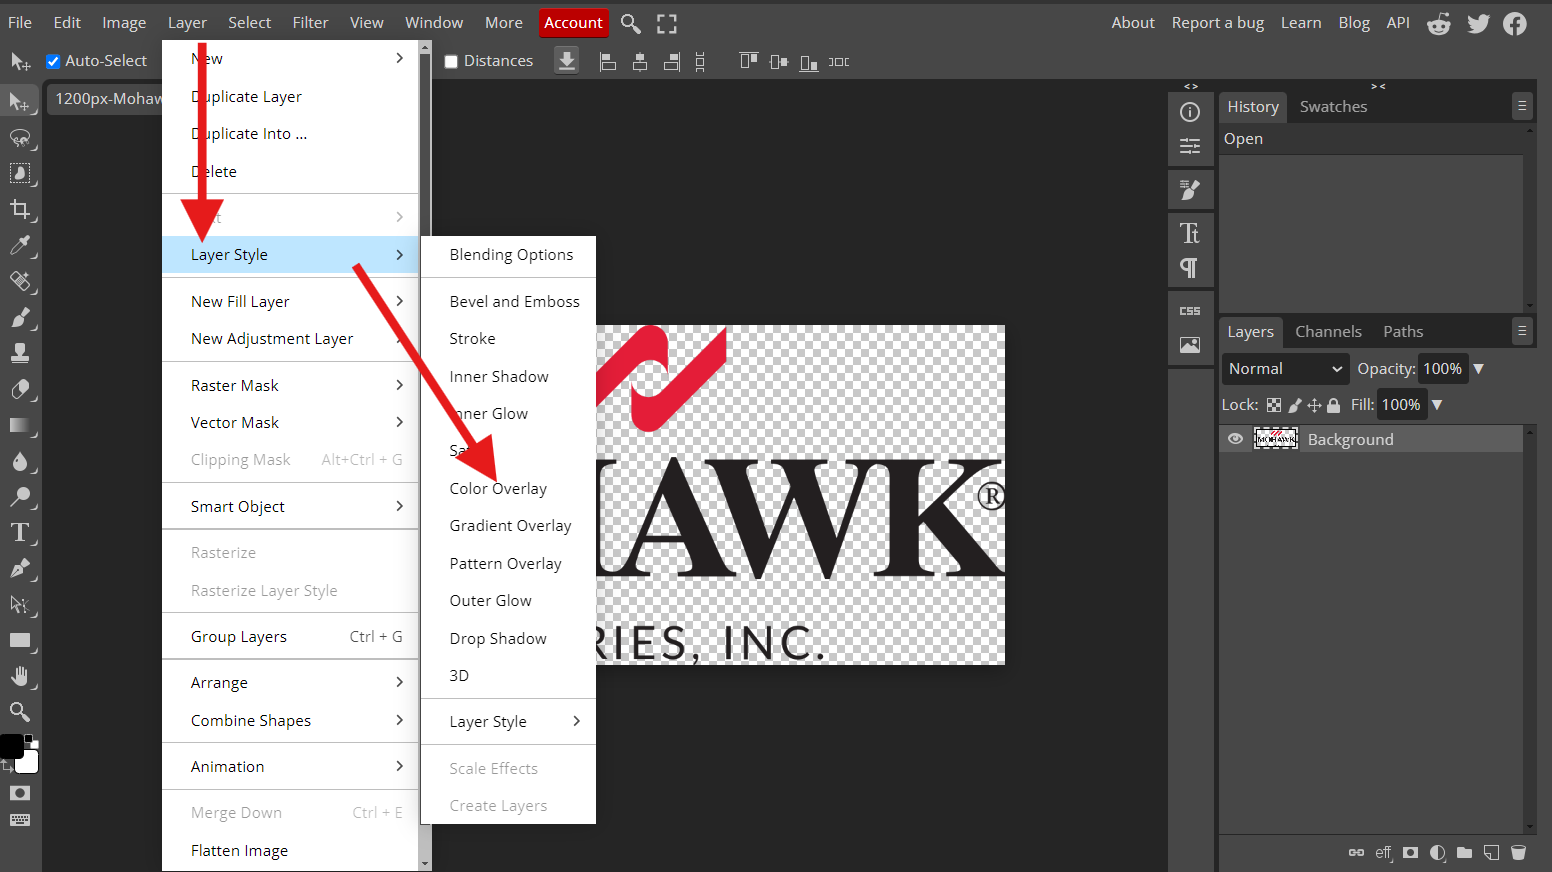
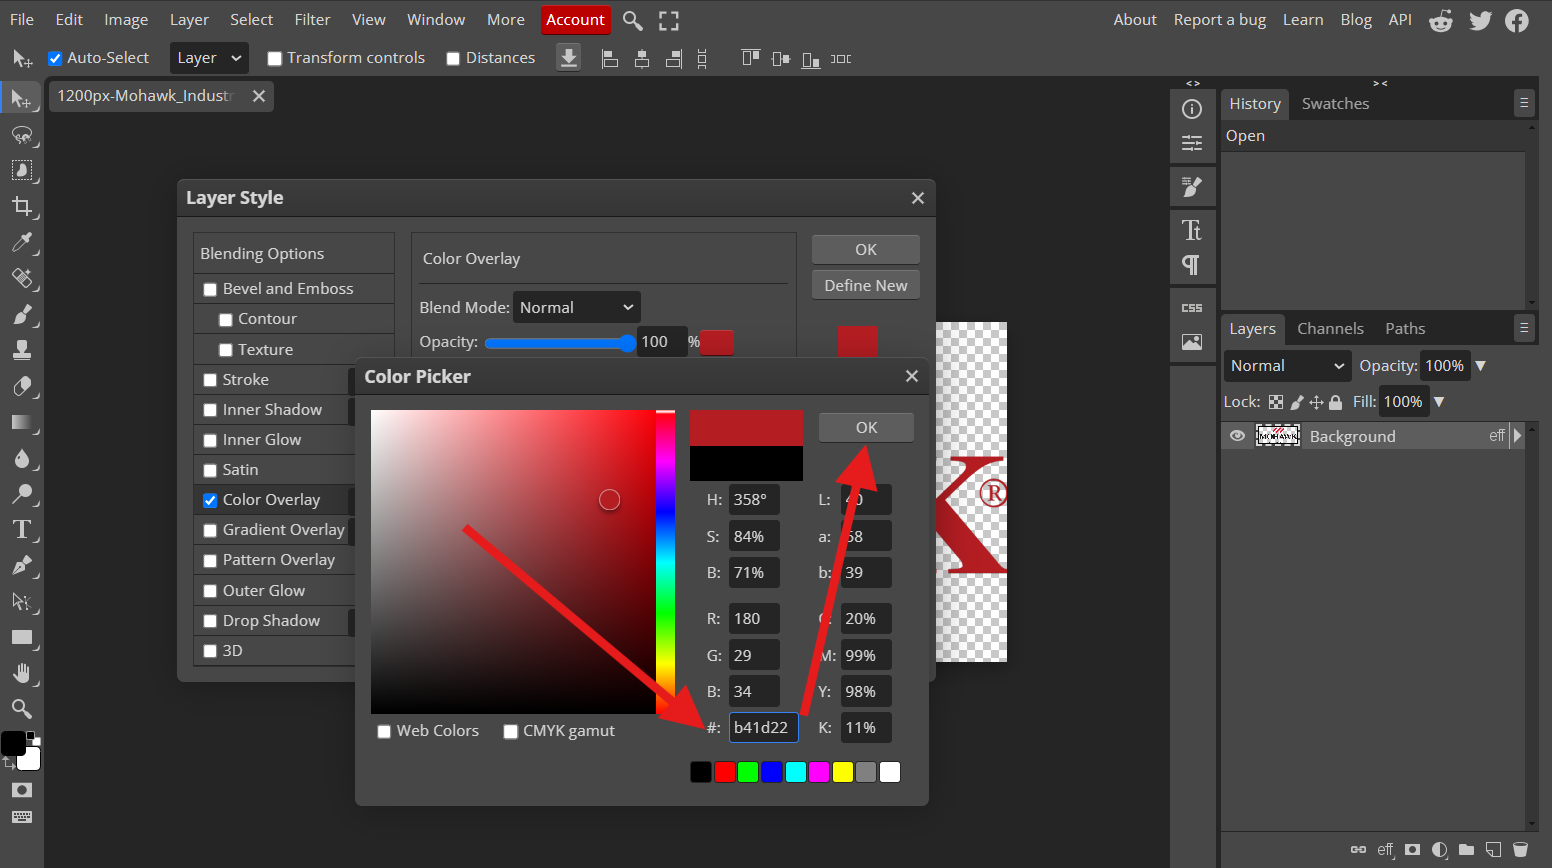
This will pull up a window that lets you select the specific color that you want to change the logo to. Simply click on the black box and enter either the RGB details, or the specific hex code that you want your logo variation to be, and click “Okay”!
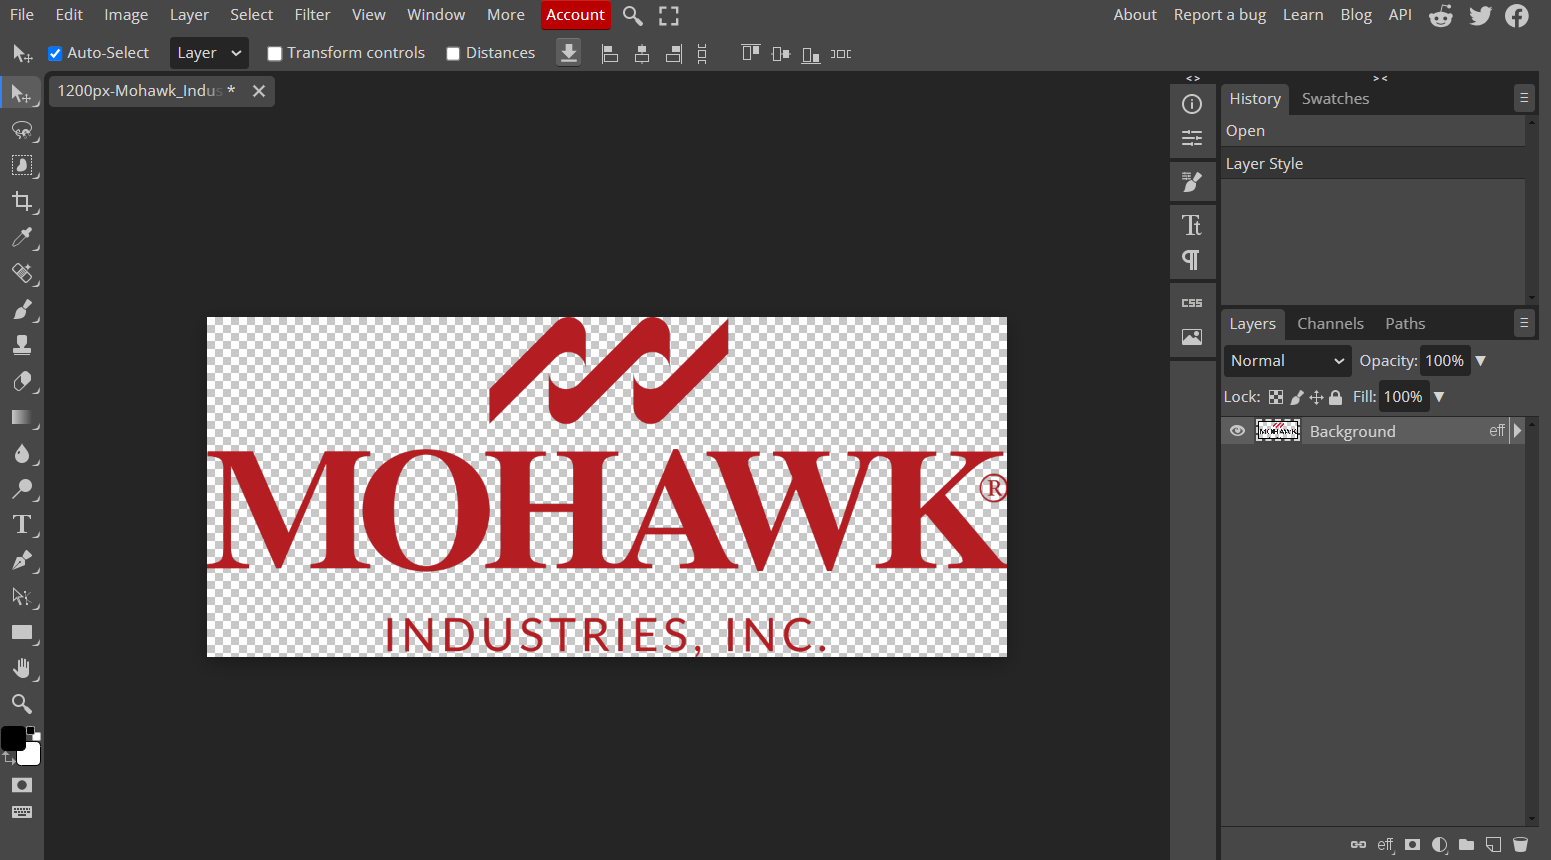
Step 4: Now you can export the new logo variation as a png and use it for whatever scenario you might need it for. Here is the final result of how I used this technique when creating a media slider for different logos on ElfSight!

Hopefully you learned something new from this tip of the week! Feel free to reach out if you have any further questions about this or anything in general! 🙂